
Configure of Windows 365 Cloud PC
Windows 365 is a cloud-based service from Microsoft that allows businesses and individuals to create and use Windows virtual desktops, known as “Cloud PCs.” It can be accessed from anywhere virtually from any device with an internet connection.
Types of Windows 365 Cloud PC license
| Windows 365 Business | Ready to use cloud PCs. For smaller companies up to 300 users. It has simple management options. Anytime access to cloud PCs. |
| Windows 365 Enterprise | More management tools to customize cloud PCs. Full integration with MS Intune. Unlimited Users. Anytime access to cloud PCs. |
| Windows 365 Frontline | Single license to provision up to three Cloud PCs for non concurrent use. Access Cloud 365 PCs only during shift hours. |
| Windows 365 Government | Services that span across the regular US government community cloud GCC. |
Create a Resource Group

Create a Virtual Network


Create a Virtual Machine


Once the VM is created, add a DNS name, this will be used to RDP into the device with a static endpoint: Not Configured

Now access your VM from RDP or Bastian Session.
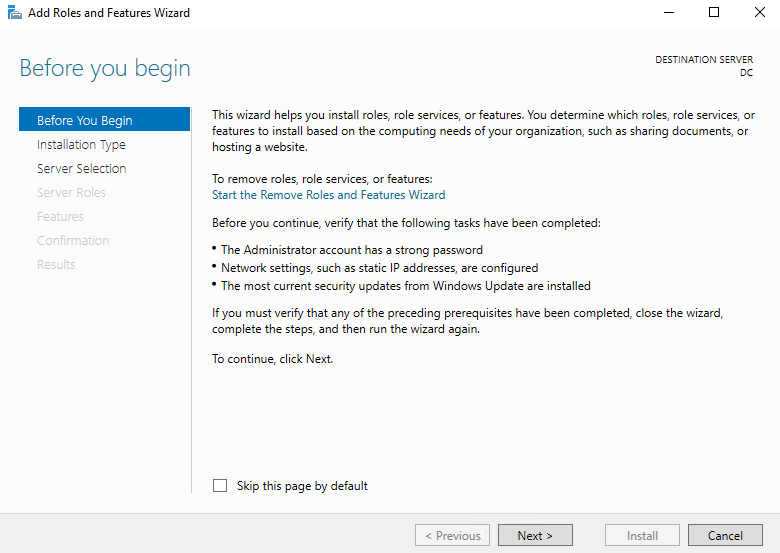


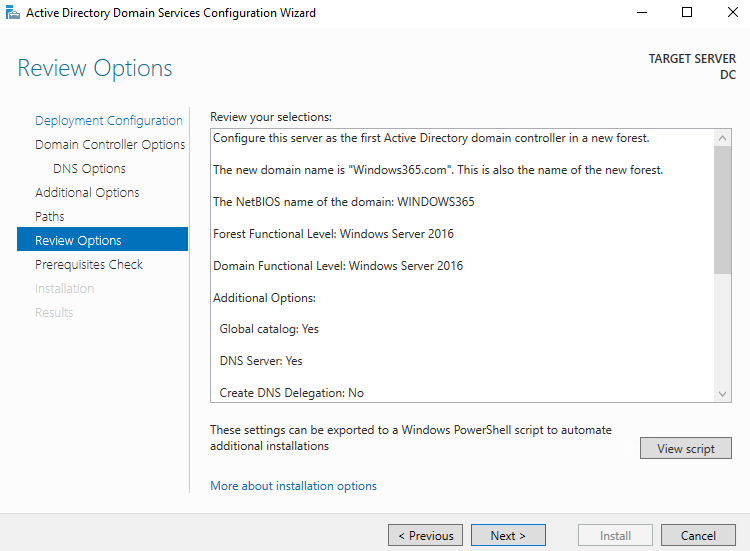
Now its time to Promote server as a DC.


Create organizational units for Cloud PCs and Synced Users


Add M365 domain as a domain suffix in AD
Open Active Directory Domains and Trusts
Right click on Active Directory Domains and Trust > Properties


Create user account under “Synced Users” OU


NOTE: At this point, sign out from the local computer admin account and sign in with your new Enterprise admin account.
Create Service Account under “Builtin” OU or you can create a new OU and name it anything ANCServiceAccout and add user there.

Password never expired
Add permissions to service account to create ANC
Delegate “Add Computer objects” permissions over the ANC service account
Right click Cloud PCs OU and Delegate Control


Install Azure AD Connect
Download link: https://www.microsoft.com/en-us/download/details.aspx?id=47594

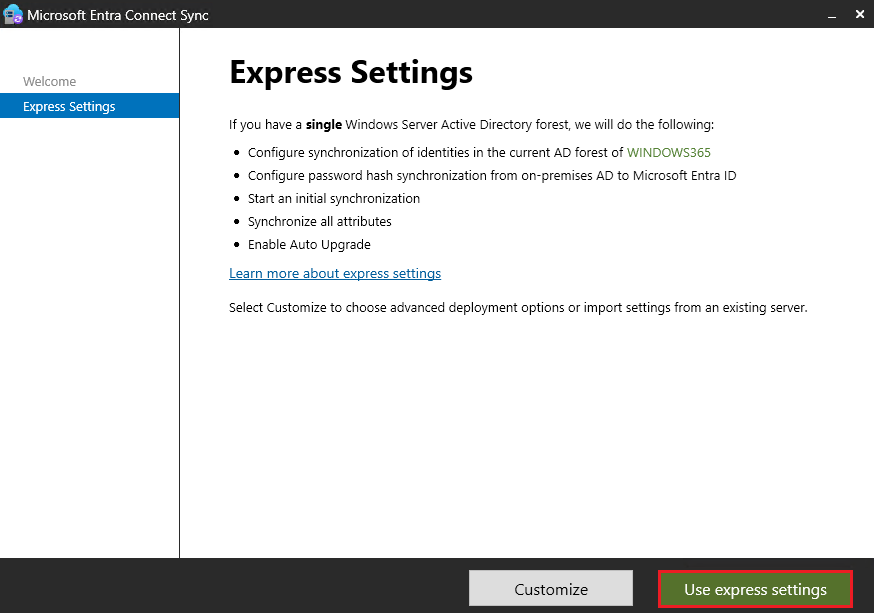


Configure sync scope in Azure AD Connect


Configure HAADJ SCP
Double click the icon on the desktop for Azure AD Connect


Change DNS servers on vNet to point to DC
On the vNet, click on “DNS servers” and select “Custom”
Add the DNS server as the “Private IP address” of your Domain Controller.

Sync account, assign licenses and add admin roles
Go to: https://portal.office.com and check Active Users
Once the account syncs, add licenses for Windows 365 and E5
You may also set your account as a Global Admin
At this point, your environment should be ready to create your first ANC and provisioning policy.
==
Create ANC

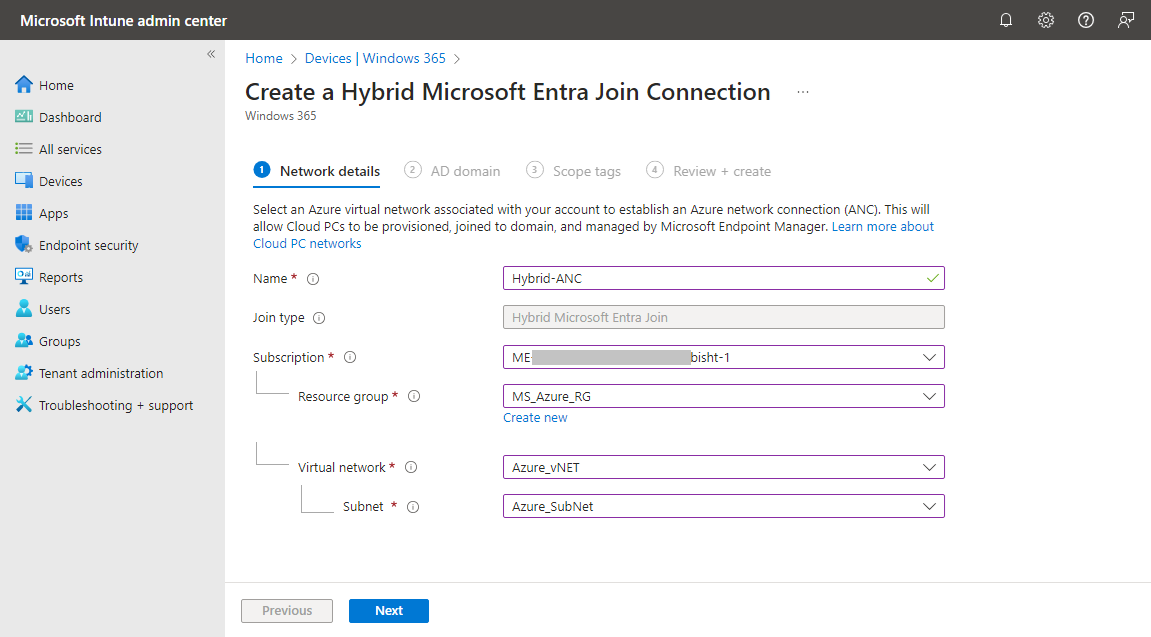
For OU, you need to add Distinguish name format
For that Open Server Manager > Tools > Active Directory Users and Computers > Click on view from top left side and select Advanced Features > Right Click and select Properties


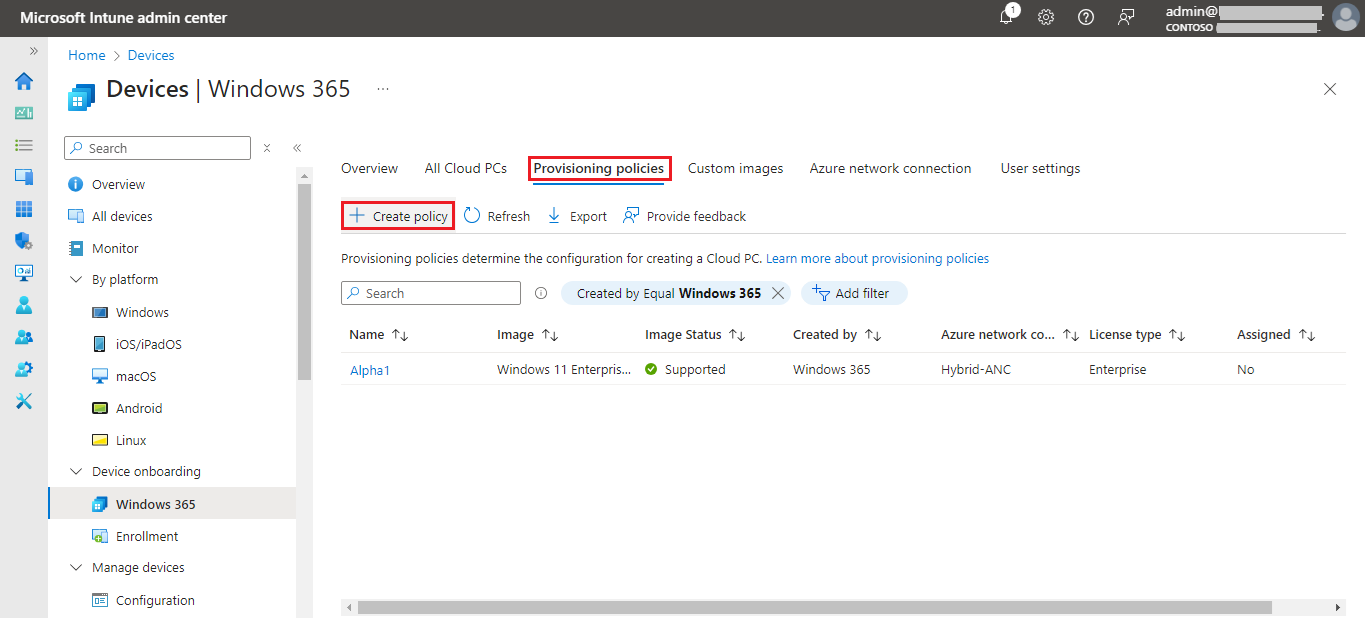
Create Provisioning policy


If you are using Hybrid Cloud PCs then you need Hybrid Users. So I went to by DC and add new users: Anshuman, Kuldeep and Sandeep. After creating Users open powershell and run Start-ADSyncSyncCycle -PolicyType Delta command to sync these create users instently.


https://admin.microsoft.com/

Once users are added to the group and the license is assigned, the Cloud PCs will begin provisioning automatically.

Provisioning will take time 40-60 minutes. At the time of Provisioning CPCs you can see the Changes on VNets under connected Devices.


